Today I will show you how you can manage one or more users in ARIS Cloud. To do this, you must have access to the “Settings” area in ARIS Cloud. To enable access, you need the “Administrator” privilege. With this privilege, you can manage users and user groups on the “User management” tab.
The “User management” tab lists all users of a project room. In this area, you can invite, import, export, edit, and delete user(s).
First, let’s have a look at the procedure “Invite new user(s)”. To invite a new user, you must go through the following steps:
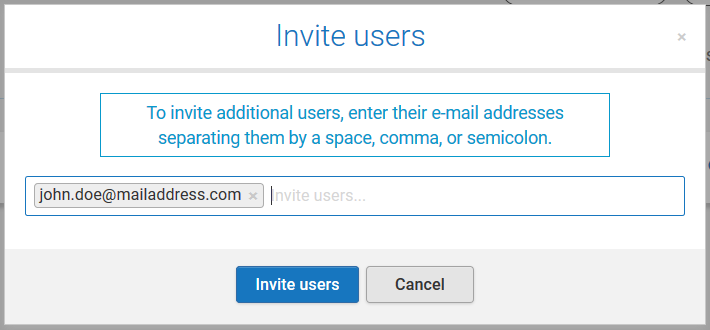
- Click “Invite users” if you want to add someone to your project room.
- Enter one or more e-mail addresses of the people you want to invite. The e-mail address is added to the list as soon as you enter a space, comma, or semicolon after the e-mail address.

You can remove individual e-mail addresses by clicking the "x" icon.
- Click “Invite users”. An e-mail with a generated password is automatically sent to the addresses you entered.
After you have invited a new user, you can edit the user in the following way:
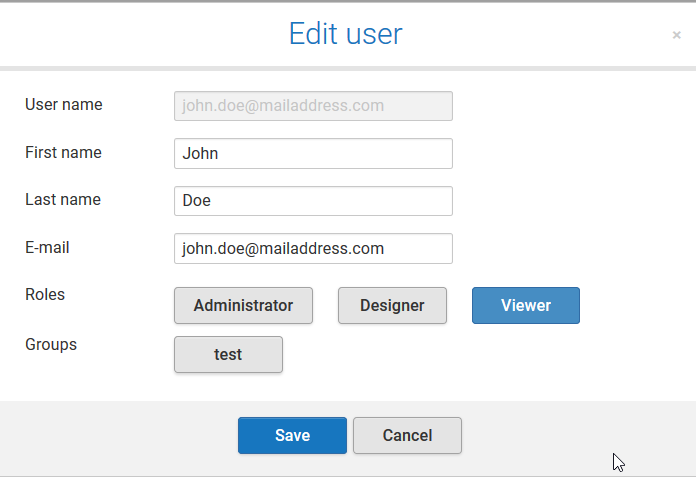
- For each new user, click "More" > Edit user. The “Edit user” dialog opens. This dialog opens also if you click the e-mail address.

- Enter the first and last name of the user.
- Click the role that you want to assign, for example, Designer. The role name is highlighted. If you want to remove a role, click the highlighted role. The highlighted background is removed.
Note: The "Administrator" role being grayed out does not mean that the role is inactive. It means that you're currently logged in to the Administration area. So, the role is grayed out because it makes no sense that a user can remove this role while being in the "Administration" area.
- If user groups are created, click the user group to which you want to assign the user.

-
Click "Save".
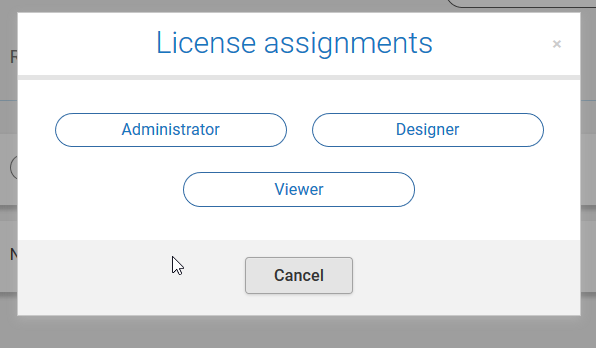
You can also assign or change the role of a user using the "+" icon. 
Note: Depending on the role, a user has different privileges. As an administrator, a user can access the "Settings" area. As a designer, a user can create and edit content. As a viewer, a user can view content.
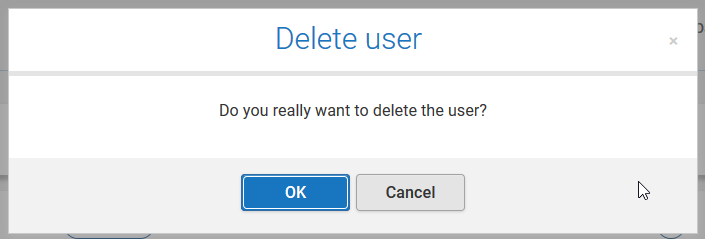
If you want to delete a user from your project room, click More > Delete user. The “Delete user” dialog opens.


