
Today I show you how easy it is to build your own report in ARIS Cloud Advanced. To do so you can use a "what you see is what you get (WYSIWYG)" editor.
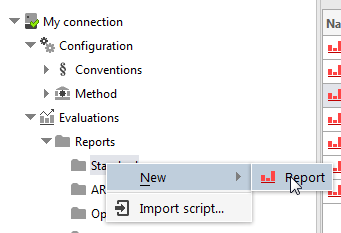
Open the java based administrator tool that is available in the advanced edition. Select a folder and right click on your mouse to create a new report.
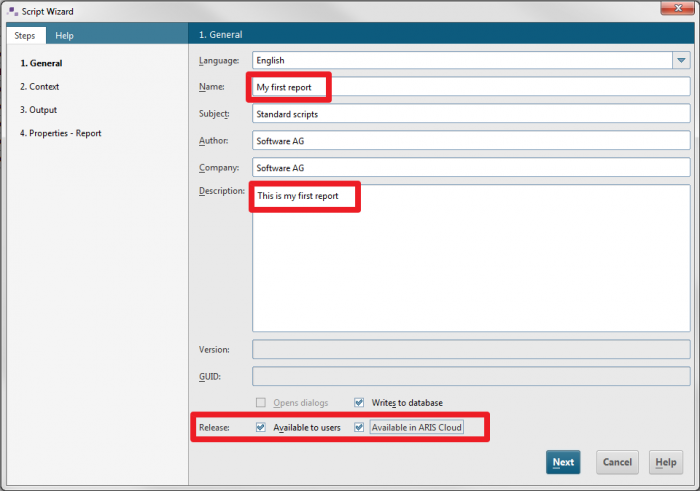
Now you can enter a name, a description and decide if the report should be available in ARIS Cloud immediately or if it should be published later.
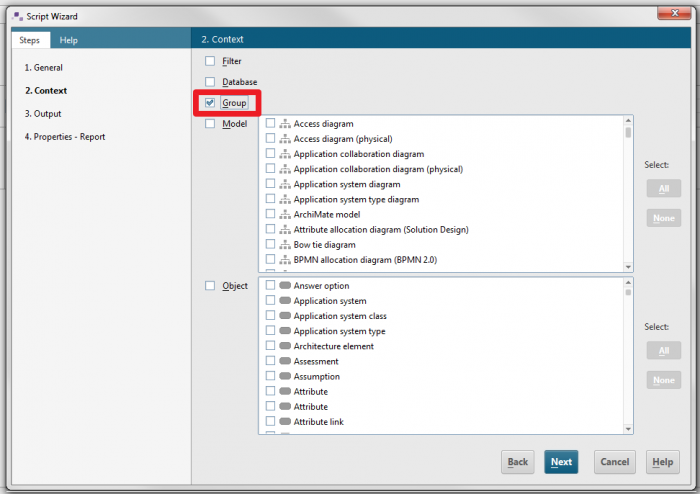
In my example I would like to iterate over a set of groups and output the name of the models contained in those groups. First, I select “Group” as the context while creating the report. This means that the report can be run for a selected list of groups.
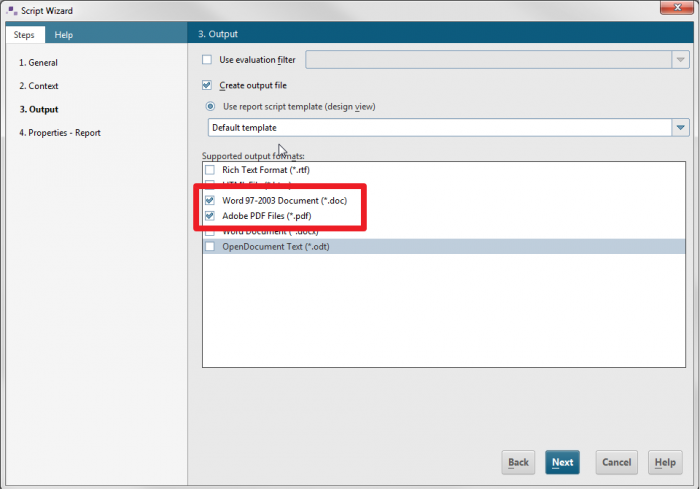
Next step are the output formats that should be available for my report. I select .doc and .pdf as output formats.
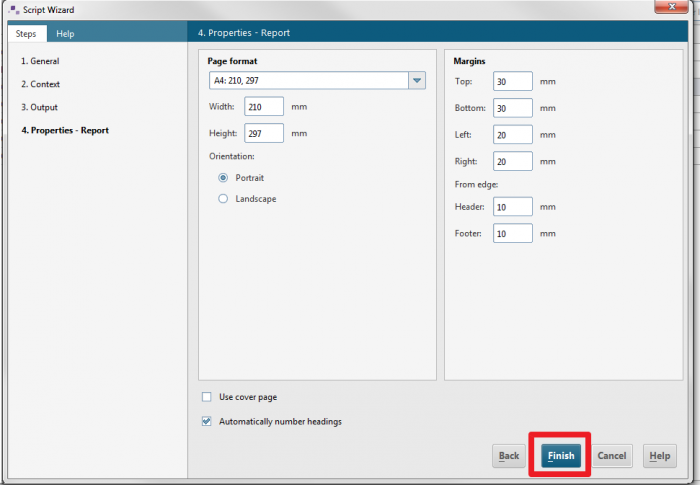
Then I have to define the page settings and finish the configuration.
Now the report opens and I can do detailed configuration.

To output all models of the selected groups,I define a query. This query is a subordinate query that searches through the selected groups.
I select the section into which I want to insert a query.
Right-click and select “Insert/Query”. You can set queries for both the repetition area and the static area of each section.

To output all models of the selected groups with their name, I need a query for the repetition area. Therefore I enable the "Has repetitions" option.
Under 'Available data', I select 'Model list (filterable by type)' and click on the 'Add to repetition' button. You can insert only one query into the repetition area.

I click the "Next" button and "Finish".

The query will be inserted into the selected area.

To output the relevant names, I insert the corresponding data fields.
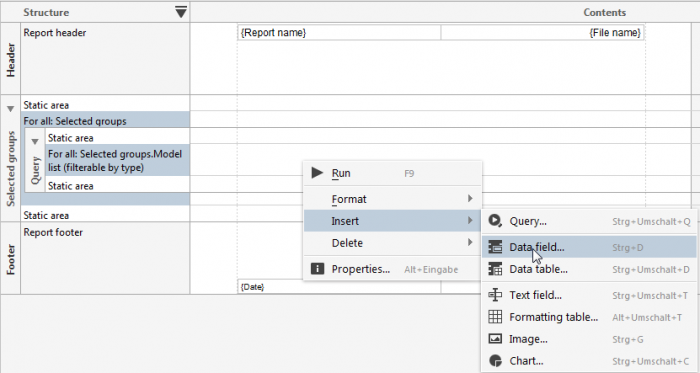
The data field should output all model names and their associated group name.
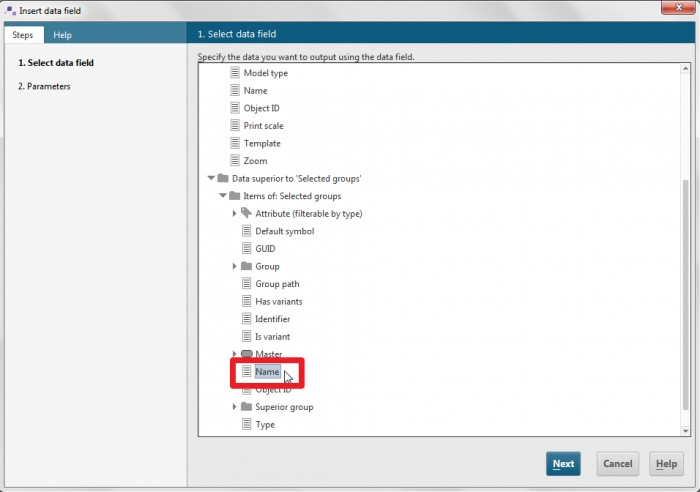
I select 'Name' in the 'Select data' field, then I click the 'Next' button and then 'Finish'. Now the data field shows the text '{Selected groups.Model list (filterable by type).Name}'.

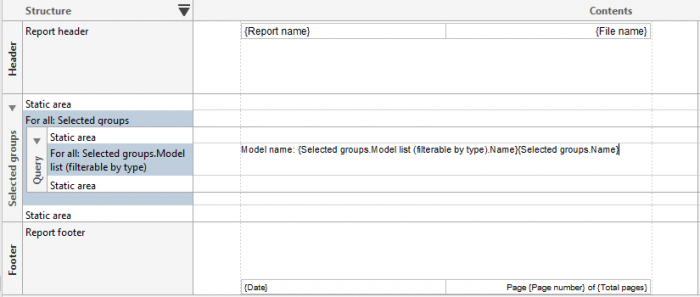
To specify the output, I add the prefix 'Model name:' in front of '{Selected groups.Model list (filterable by type).Name}'.
To output the name of the group another data field is required. The procedure is the same as the one described above. Here, I insert a data field with the path 'Group – Name'
I click "Next" and "Finish"
Now the report is finished. To see the results I save and run my report now.

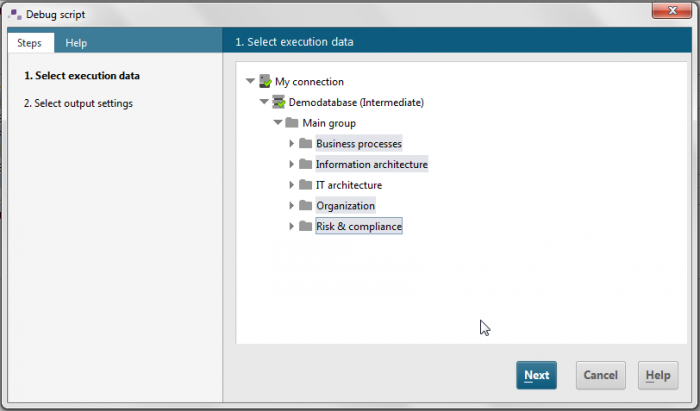
I select the database and the groups and run the report to shows all selected groups with their models.
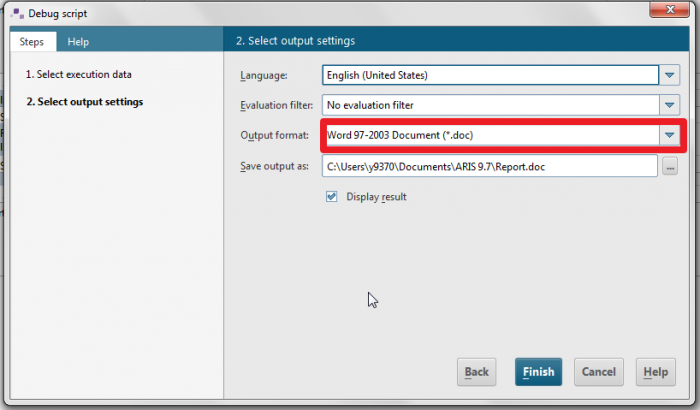
In the next step I select .doc as the output format.
Here you see my results :)


Zuheb Zeeshan (Zee) on
that's very informative..thanks Marie for sharing:)