
This tutorial explains how to create a group in the content repository which can be used to store models and objects.
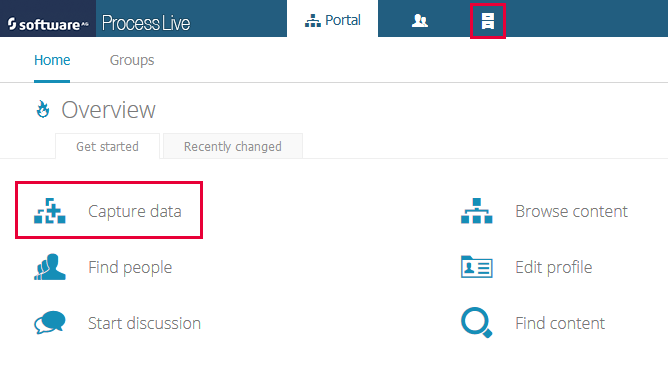
Begin by navigating to the content repository. Click Repository in the page header or Capture data on the Overview page to see the Models and Objects view:
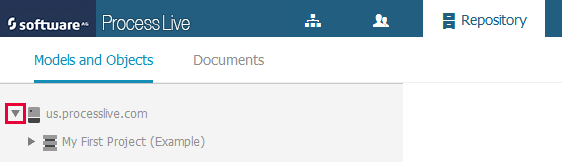
On the Models and Objects view, click the triangle next to us.processlive.com (or eu.processlive.com if your project room is hosted in the European Union and not in the United States of America):
You will see all projects (databases) available in the project room. If the project room was just created, there is one project called My First Project (Example). We will use this project for this tutorial.
Open the project by clicking on the triangle in front of the project icon. This will reveal the top-most group called Main group. By clicking on the triangle in front of the group icon you can reveal all groups below the group Main group. In the example project there are already groups for business processes, IT systems and organizational structures. Such a division is common practice in process management projects.
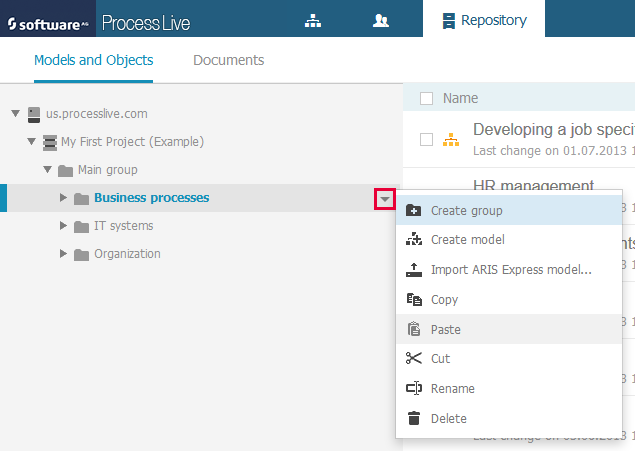
Now let us create our first own group related to business processes. Select the group Business processes by clicking on its label. The label will be displayed in a bold font and blue color and a small down-facing triangle to the right of the label will be revealed. By clicking on this triangle you can open a menu with actions that are applicable to the group. Select Create group to create a new group:
This will open a dialog where you can insert a name for the new group, e.g. My group:

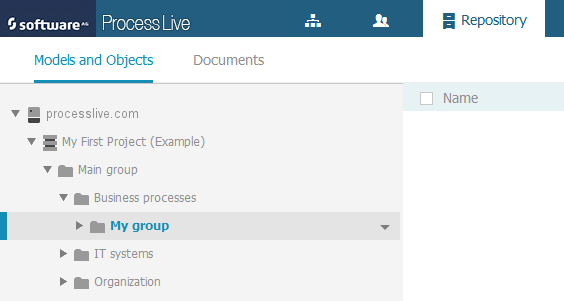
The newly created group is added below the group Business processes and can be seen after opening the latter group:
You can now add models to this group.