
In my last post you could read how to subscribe to ARIS Cloud and how to log in to the application. Today I will show you how to edit your project room, how to invite additional users, and how to assign user privileges.
To start the invitation process open ariscloud.com in your browser.
.png)
Select “My Process” and log in using your personal Process Live login data to open your project room.
Select the edit icon to open the Administration: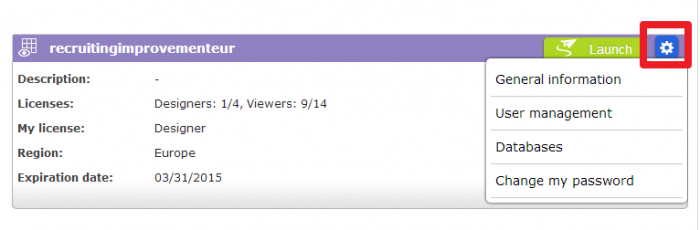
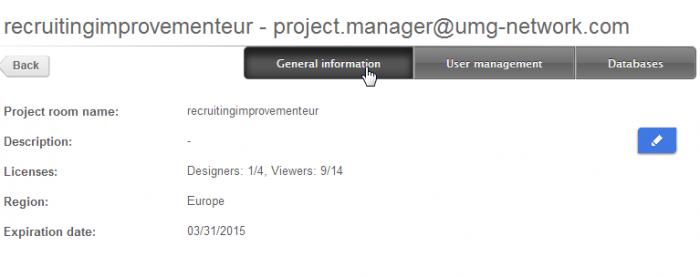
“General information” provides you with an overview of your project room including your current licenses and the expiration date of your subscription.
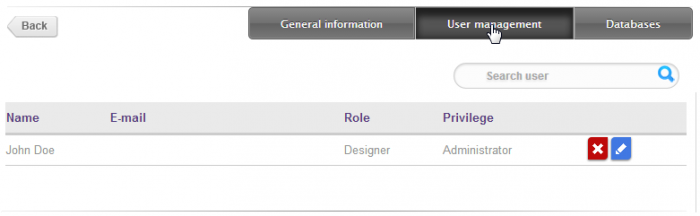
In the “User management” area you find the user administration. You see the current users, the related role, and the permission level.
To add a new user click “Invite user”

and enter the relevant e-mail address.
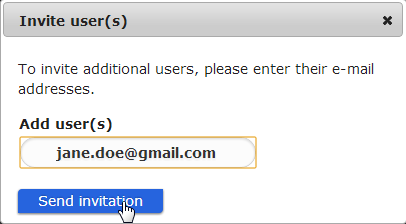
The person automatically receives an invitation e-mail containing their personal login information for Process Live.
The invited person is now included in the list.
![]()
Select the pen icon to assign more information and user privileges to the person.
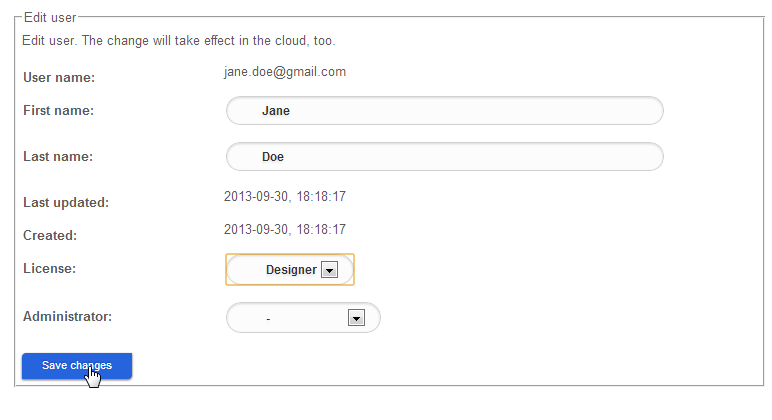
You can enter the name and decide if the person is to be a viewer or a designer. Administrator privileges will allow the person to work with the entire project room. The user can view project room details, change the password, invite users, assign user privileges, and upload databases.
Click “Save changes” to finish the user privilege assignment.
Now you know how to edit your project room, how to invite users, and how to assign user privileges. In my next post I will show you how to upload a database in ARIS Cloud.